Contacts
Overview
The contacts page allows you to manage your contacts and details like opt-out and consent message status, import in bulk, and more.
Adding a Contact
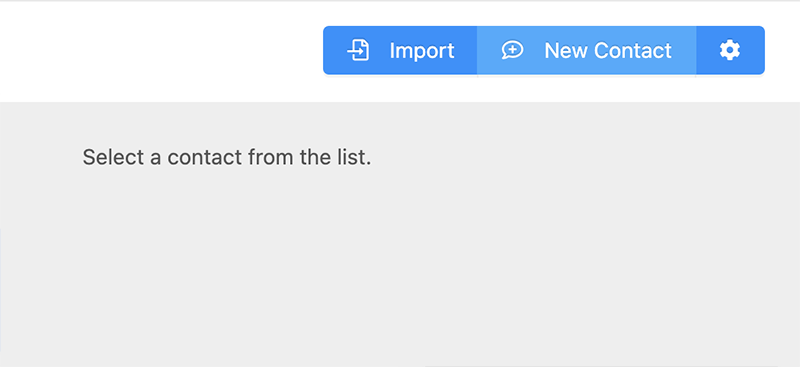
- Click "New Contact" from the top right of the app.
- Next, enter in details, being sure to complete all required fields, denoted by a red asterisk.
Note: Although the app does not utilize the e-mail address for communication, the e-mail address field is helpful when utilizing features like Relay Webhooks and the API as a secondary identifier field for integrations.
- When all required fields are complete, click "Add Contact"
Editing a Contact
- Choose the contact that you would like to edit from the list on the left.
- Next, edit any details, being sure to complete all required fields, denoted by a red asterisk.
Note: Although the app does not utilize the e-mail address for communication, the e-mail address field is helpful when utilizing features like Relay Webhooks and the API as a secondary identifier field for integrations.
- When all required fields are complete, click "Update Contact Details"
Note: Choosing to edit the "Opted out" checkbox manually will permanently opt this contact out, until the contact replies back with START or UNSTOP.
Deleting a Contact
- Locate the contact from the contact list on the left.
- Next, choose the "Action" dropdown for that contact.
- Finally, choose the "Delete" option to be prompted with a confirmation that you would like to delete the contact.
Note: Some users and account types may have the delete feature disabled by their adminstrator.
Importing Contacts via CSV
Importing allows you to load contacts from a CSV file into your account, optionally allowing you to segment your contacts into specific lists while uploading.
- Click "Import" from the top right of the app.
Note: We provide a sample CSV that is pre-formatted for you to fill in your data. Please make sure that your CSV files match the format before uploading. Improperly formatted CSVs, will result in the entire import failing.
- Choose the "Upload File" option or optionally paste in the content of your CSV.
Note: If you included a header row (e.g. "Full Name, Phone, Email") you may choose the "Skip First Line" checkbox to intentionally skip the first row of the list.
Note: If you would like to import these contacts into a specific list for marketing purposes, you can choose the list from the "Import Contacts into Selected List" dropdown. If the dropdown does not display, you should double check that at least one list exists in your "Lists" page.
- Click "Import Contacts". The list will be sent to the server for processing. Depending on the list size, you should notice the contacts in your contact list within several minutes.
Deleting All Contacts
There may be a time where you need to delete all contacts for a user, like when reassigning a number or after an import of invalid or unintentional contact data.
- To delete all contacts, select the gear icon on the top right of the Contacts page to open the Settings modal.
- Choose the "Delete" button and you will be prompted to confirm that you would like to delete all contacts. This option CANNOT BE UNDONE.
Depending on the size of your contact list, this process may take several minutes and your contact list may refresh several times as it syncs with the server.
Note: Some users and account types may have the delete contacts feature disabled by their administrator.
Related Articles
Contact Lists
Overview Contact lists allow you to segment your contacts when sending Blasts. Note: Some users and account types may have this feature disabled by their administrator. Create a List Click "New List" button on the top right of the screen. Enter a ...Read First
This page contains a few important key bits on information that will help you have the best performance from the chat application If you have contacts that you would like imported, we suggest you import the contacts before you being using the app. ...Text Blasting
Please Note: Text Blasting is not included with a standard voice plan. Text Blasting is an upgrade feature with separate pricing. Blasts are a great way to send the same message out to a list of contacts, often used for marketing, staff alerts and ...Number Switching
Overview The number switcher allows you to toggle between your phone number and other numbers that have been shared with your account. Note: Some users and account types may be limited to a single number. Switching Numbers To switch active numbers, ...Reminders
Overview Create reminders to send scheduled messages to individual contacts. Tip: Dates that have messages scheduled have a blue dot identifer above the day number. Creating a Reminder Choose the date on the calendar for which you would like to ...